| Modifying PC Dead Rising 2 |
|---|
|
Opening files to edit (Gibbed's)
All game items (items.txt)
|
- These instructions were made for Dead Rising 2 ONLY. They probably work for other games, but have not been tested.
- Modify BCT files
A Dead Rising 2 PC player can edit the color and style of any object in the game. You can extract and modify the textures from the game. There are two ways to get these textures back into the game:
- HEX EDITOR METHOD With several programs.
- Benefits: Once created, no programs needed, which means the file can be shared with others who do not have Texmod.
- Drawbacks: Minor programming required. Several programs needed, more step involved.
- TEXMOD METHOD With a third party program called Texmod. The Proboards modding community no longer uses Texmod.
- Benefits: easier, no programming involved, only two program needed, texmod and gibbed's tools.
- Drawbacks: Need Texmod to run the modification every time. Have to scroll through the different textures. No longer used by the community.
Hex Editor[]
Required programs[]
  Needed to create a reskin:

|
Optional programs[]
|
Modify .tex file example[]
Example of how to modify a .tex file, changing the colors of Chuck's jacket. Instructions from Proboards.[1][2]
  Location of npcs.big 1. Navigate to data/model/npcs.big 2. Back up npcs.big
|
Unpack files with Gibbed's tools[]
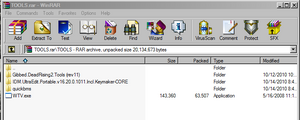
3. With Gibbed's tools unpack npcs.big.
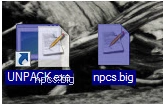 a. drag and drop npsc.big unto the unpack icon of gibbeds (gibbed's unpack icon may look differently on your machine)
 b. A black box pops up while the npcs_big folder is being created by gibbeds. The black box will eventually close. It will take a little time to unpack.
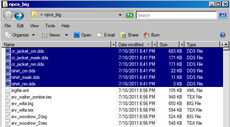
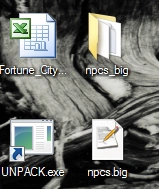 c. A new folder is created called npcs_big
|
  chest_default.tex found in the newly created npcs_big folder |
  Chuck's jacket: cr_jacket_cm |
4. Open the newly created npcs_big folder and find the file chest_default.tex This .tex file controls the style and color of Chuck's jacket. We will be reskinning this file.
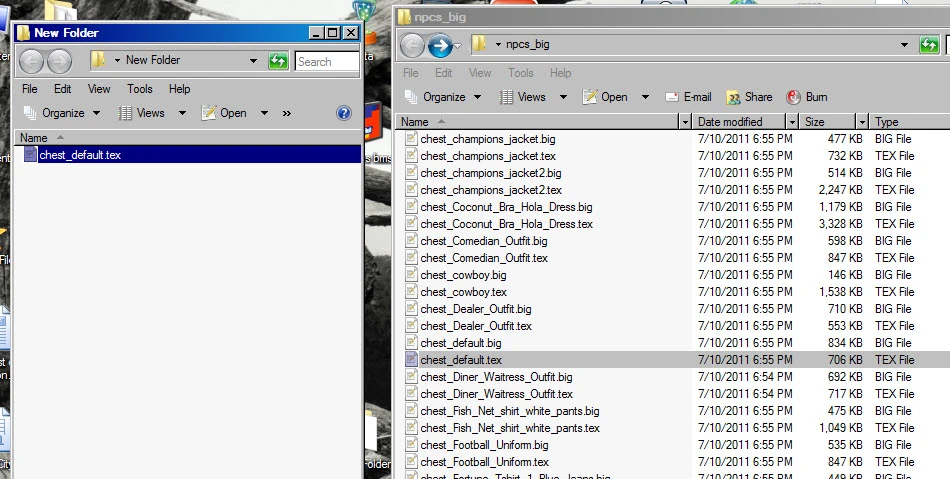

Saving a copy of chest default to new folder
5. Copy and save chest_default.tex to another folder for two reasons:
- a: as a backup in case there are problems,
- b: to later open with a hex editor for coding header.
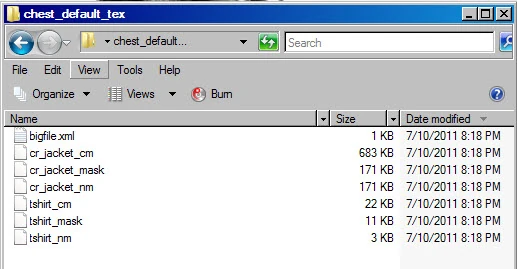

chest_default_tex folder contents when opened with gibbeds:
cr_jacket_nm
tshirt_cm
tshirt_mask
tshirt_nm
cr_jacket_cm
cr_jacket_mask
6. with Gibbed tools in the newly created folder, unpack chest_default.tex, the following files will be in the newly created chest_default_tex folder:
- cr_jacket_nm
- tshirt_cm
- tshirt_mask
- tshirt_nm
- cr_jacket_cm
- cr_jacket_mask
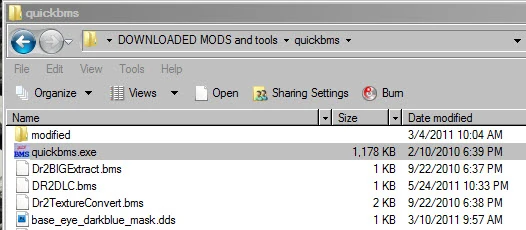
Quickbms[]
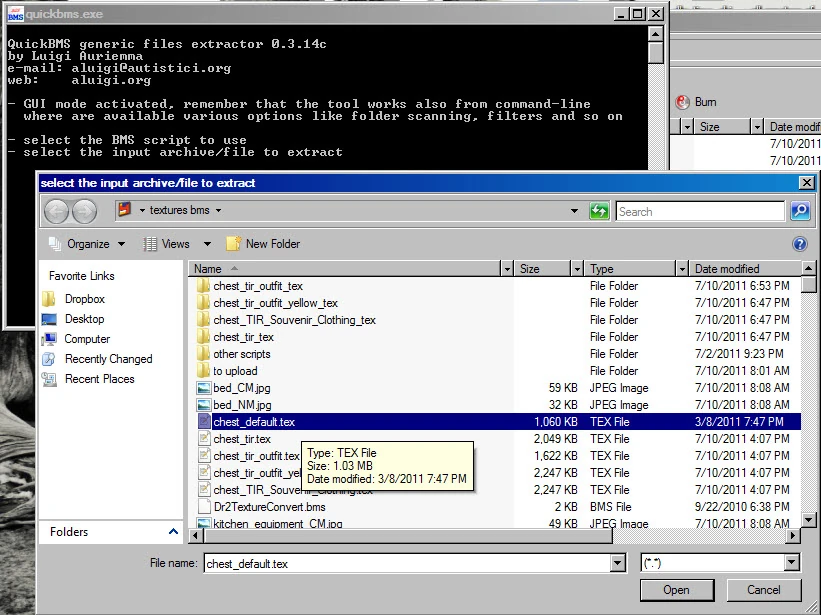
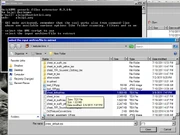
7. Open quickbms.exe and find Dr2TextureConvert.bms. Click on Dr2TextureConvert.bms.
|
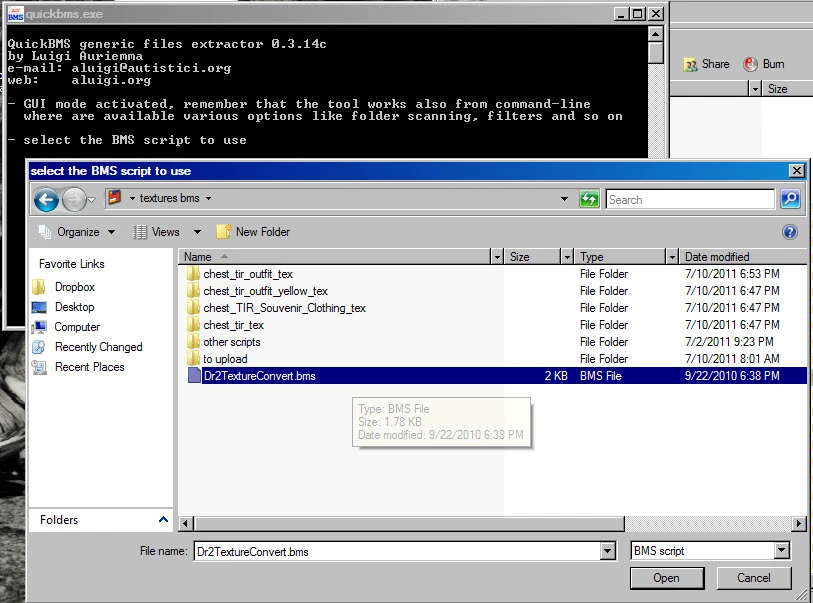  Dr2TextureConvert.bms |

.jpg)
Quickbms
8. Select the file you want to convert, in this case chest_default.tex.

chest_default_tex folder contents when converted by quickbms.exe
cr_jacket_nm.dds
tshirt_cm.dds
tshirt_mask.dds
tshirt_nm.dds
cr_jacket_cm.dds
cr_jacket_mask.dds
quickbms.exe creates the chest_default_tex folder, the chest_default_tex has the following dds files:
- cr_jacket_nm.dds
- tshirt_cm.dds
- tshirt_mask.dds
- tshirt_nm.dds
- cr_jacket_cm.dds
- cr_jacket_mask.dds
If creating an environmental textures the files quickbms will not automatically convert these files into .dds files. See Mod:Enviroment#How to reskin environment files
Photoshop modify skin -- WTV determine file type[]
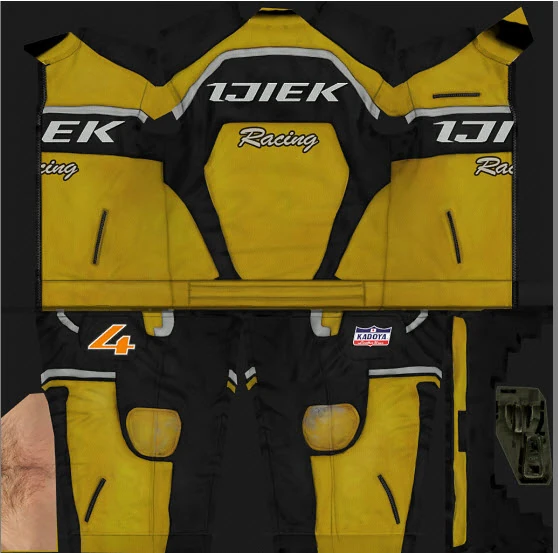
9. If you have Photoshop open the .dds and modify the skin, in this example we will be modifying cr_jacket_nm.dds.
  File >> Open |
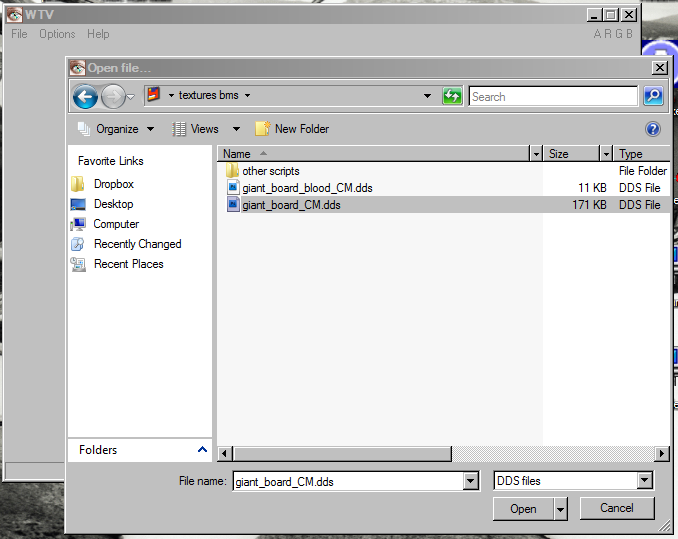  Select the file to open |
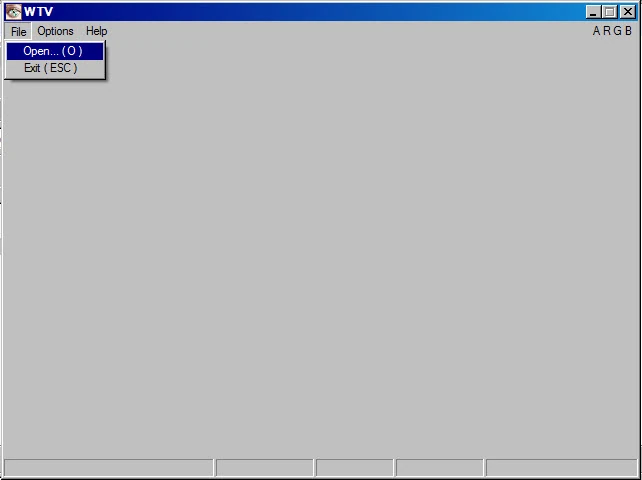
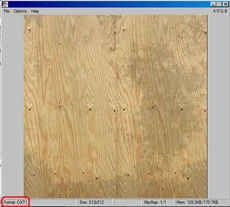
10. Before you save the modified Photoshop .dds file, open Woody's Texture Viewer (WTV.EXE) and see if the original dds you are modifying is DXT5 or DXT1.

DXT1
At the bottom left of the open Woody's Texture Viewer (WTV.EXE) it will have DXT5 or DXT1.
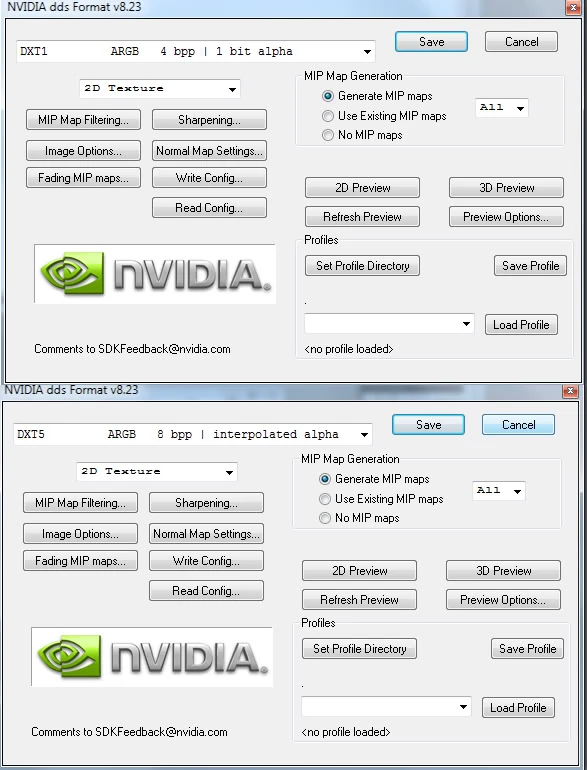
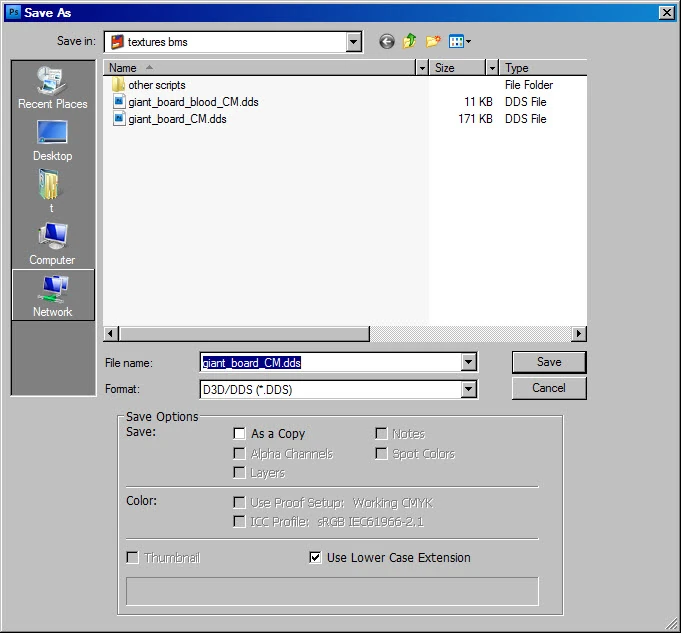  Photoshop save as dds |
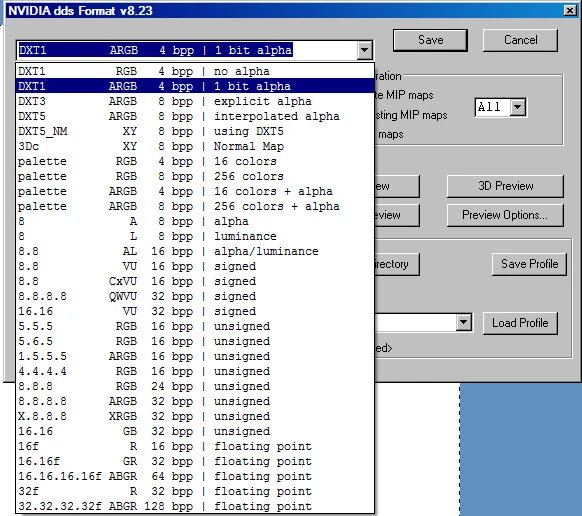 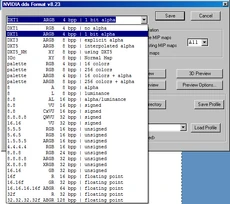 All possible Photoshop dds save settings |
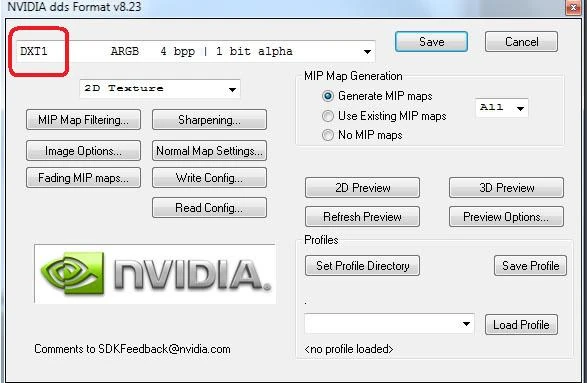  Dxt1 very top white box |
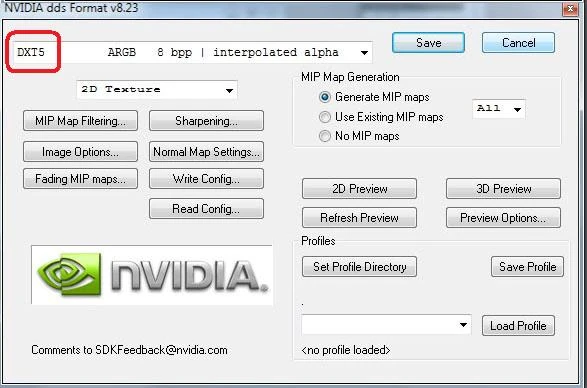  Dxt5 very top white box |
11. This is assuming you have the Nvidia plugin for Photoshop. If you have not downloaded and installed the Nvidia plugin, do it now. Then, in Photoshop, save the modified skin with the same DXT5 or DXT1 settings you determined with Woody's Texture Viewer.


The correct file type is DXT1.
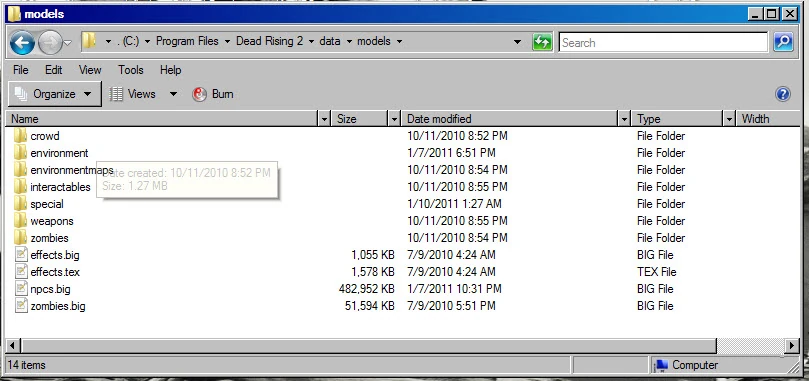
Shown is the:
First: original file,
Second: DXT1 file, the same size as the original,
Third: DXT5 file, double the size of the original.
12. After saving the modified dds file, check the .dds file size to see if it is the same. Do this for every .dds you reskin. If it is a significantly different size, you choose the wrong DXT1 or DXT5 file type.
Hex Editor change header[]
13. Now with a hex editor such as UltraEdit:
- cr_jacket_nm.dds, created by quickdms and
- cr_jacket_nm created by gibbeds in your new folder you created.
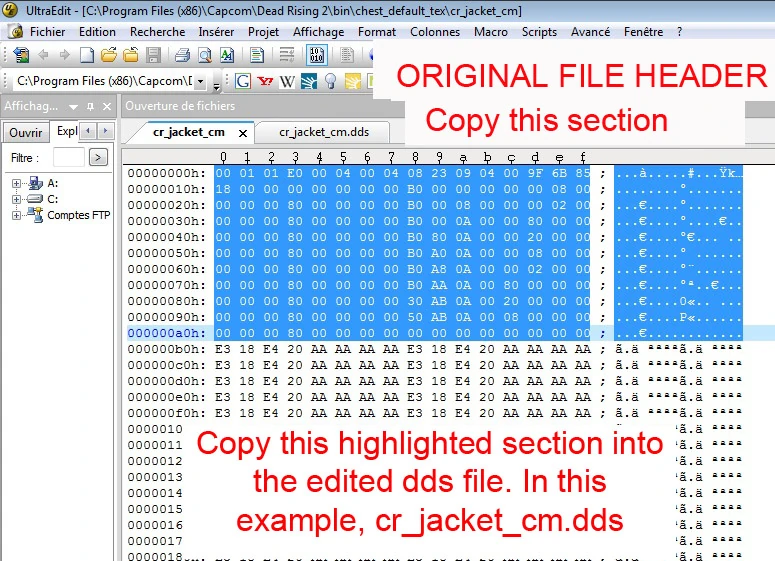
cr_jacket_nm opened by gibbeds, copy the header
14. Copy the header of cr_jacket_nm.
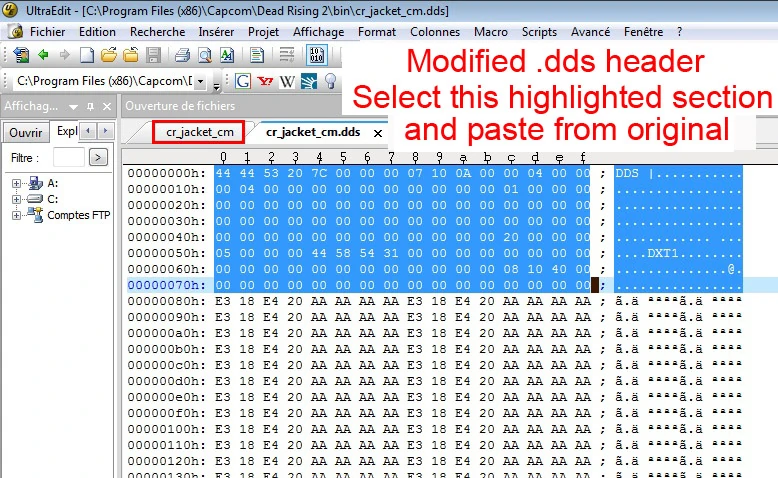
15. Replace the cr_jacket_nm.dds (modified) header with the cr_jacket_nm (original) header.
16. Remove the .dds extension from cr_jacket_nm.dds, the file becomes cr_jacket_nm. Again check the filesize to make sure they are the same size. If it is the half or double the size you saved the dds with the wrong DX5/DX1 settings.
17. Copy and replace the modified cr_jacket_nm into the new folder you extracted with Gibbed tools, replacing the original cr_jacket_nm.
Gibbed's repack file[]
18. With Gibbed's tools repack the new chest_default_tex folder you created
19. Cut and paste the newly created chest_default_tex.big file in the npsc_big folder.
20. Change the file to chest_default.tex, Changing the extension from .big to .tex.
21. With gibbeds repack npcs.big and place it back in data/model
22. Restart the game.
Tip: If the skin looks more left or right inside the game you didn't copy & replace correct the header.
Texmod[]
The Proboards modding community no longer uses Texmod.
Required programs[]
- Gibbed's DeadRising2 Tools - for unpacking and packing the files.
- Texmod - Used to download textures and play the modified texture files in the game
- xnview - view textures
Gallery[]
")
")
")
")
")
References[]
- ↑ (Temp Tutorial) How to make Reskins, dead rising 2 mods forum, October 5, 2010.
- ↑ Create direct skins, dead rising 2 mods forum, October 14, 2010.
See also[]
- data/datafile.big/outfit.cvs and clothingdatabase.csv in spreadsheet, lists the locations of all clothes on Chuck
External links[]
- Tutorials
- Create direct skins without Texmod, Dead Rising 2 PC Mods
- (Temp Tutorial) How to make Reskins, Dead Rising 2 PC Mods, (2010).
- Discussion
- Dead rising 2 mods Forum (TOOLS) Extract .BIG & Texture Rip, Dead Rising 2 PC Mods
- Extract .BIG & Texture Rip using QuickBMS, Dead Rising 2 PC Mods
- Extensions
- NVIDIA dds extension for Photoshop, Nvidia.